

Build a Custom Email Connector Dataset
This guide walks you through creating an Email Dataset
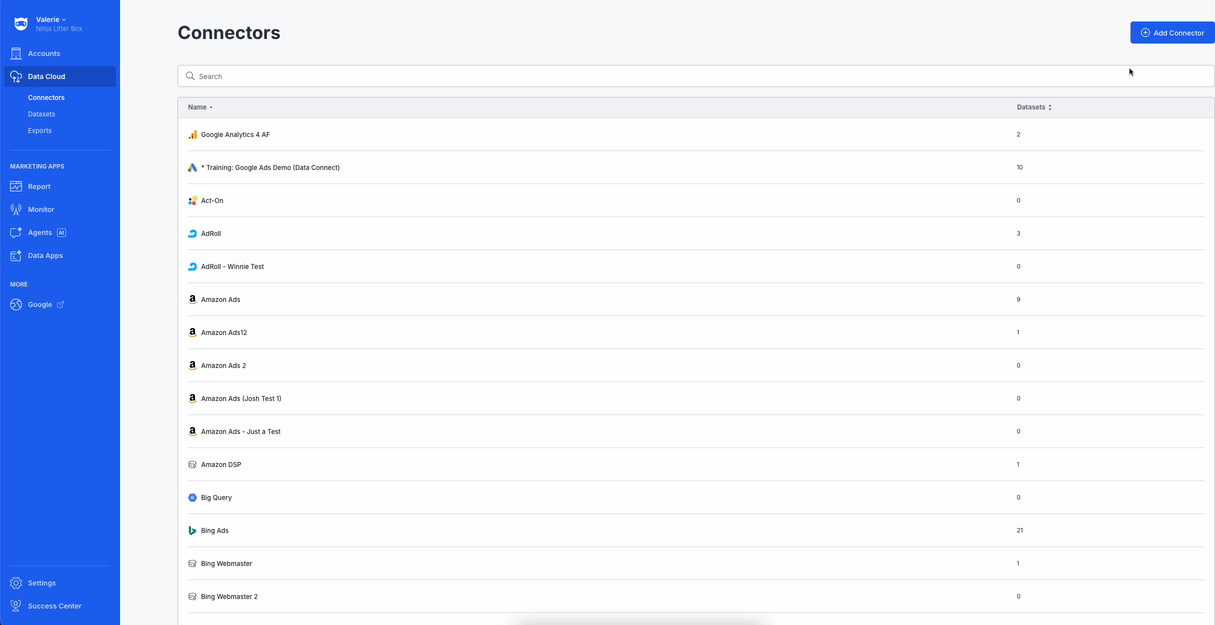
Configure the Email Connector
- Navigate to Data Cloud > Connectors
- Click "Add Connector" in the top right
- Choose "Email" as your Data Provider
- Give your new Connector an original, distinct name
- Click "Save Connector"
Create a New Dataset
Now that the connector exists, you’ll define the dataset that holds your email data.
- Click on "Add Dataset" under Datasets
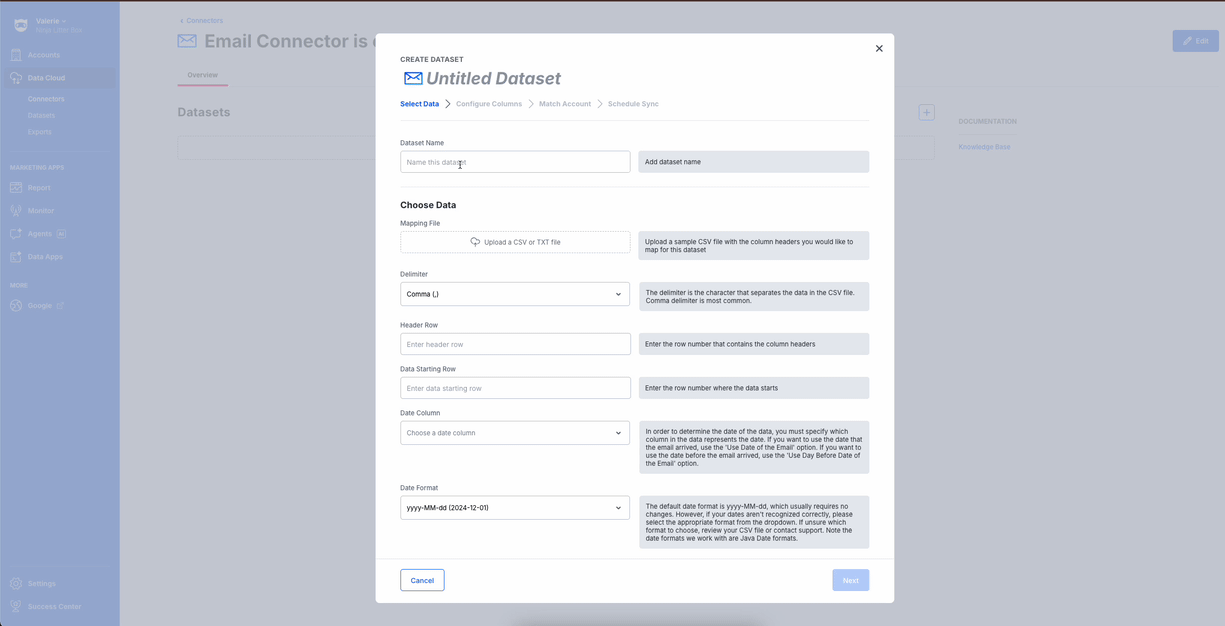
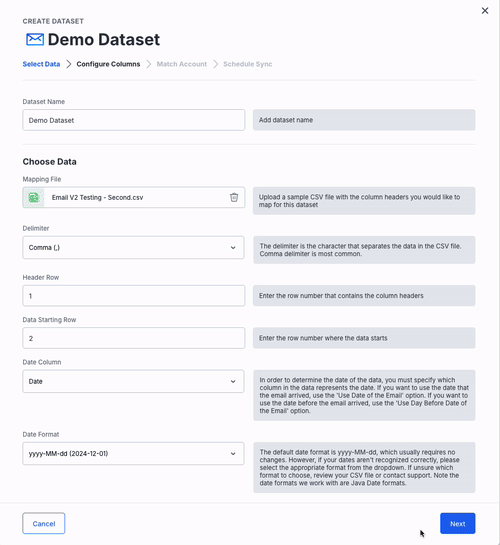
Select Your Data
- Provide an original, distinct Dataset Name
- Upload File: Attach a sample CSV or TXT file containing the column headers you’ll map.
- Header Row: Specify which row holds your column names.
- Data Starting Row: Indicate where the actual data begins.
- Date Column: Choose the column that represents the date of each row, or select “Use date of the email” or “Use day before date of the email.”
- Date Format: Default is yyyy-MM-dd (2024-12-01), but other Java date formats (e.g. MM/dd/yyyy, MMM dd, yyyy) are supported.
- Delimiter: Usually a comma, but tab-delimited files also work.
- When everything looks correct, click Next.
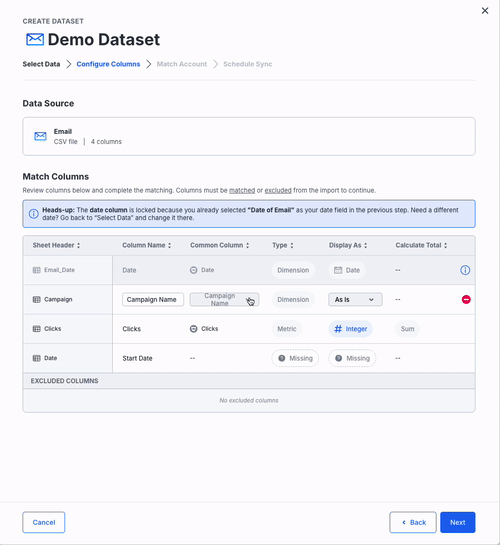
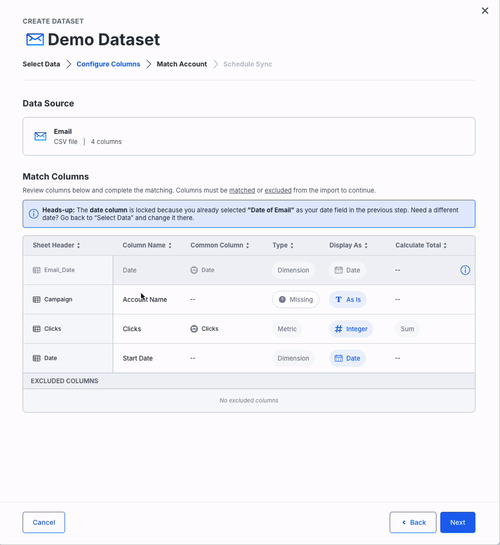
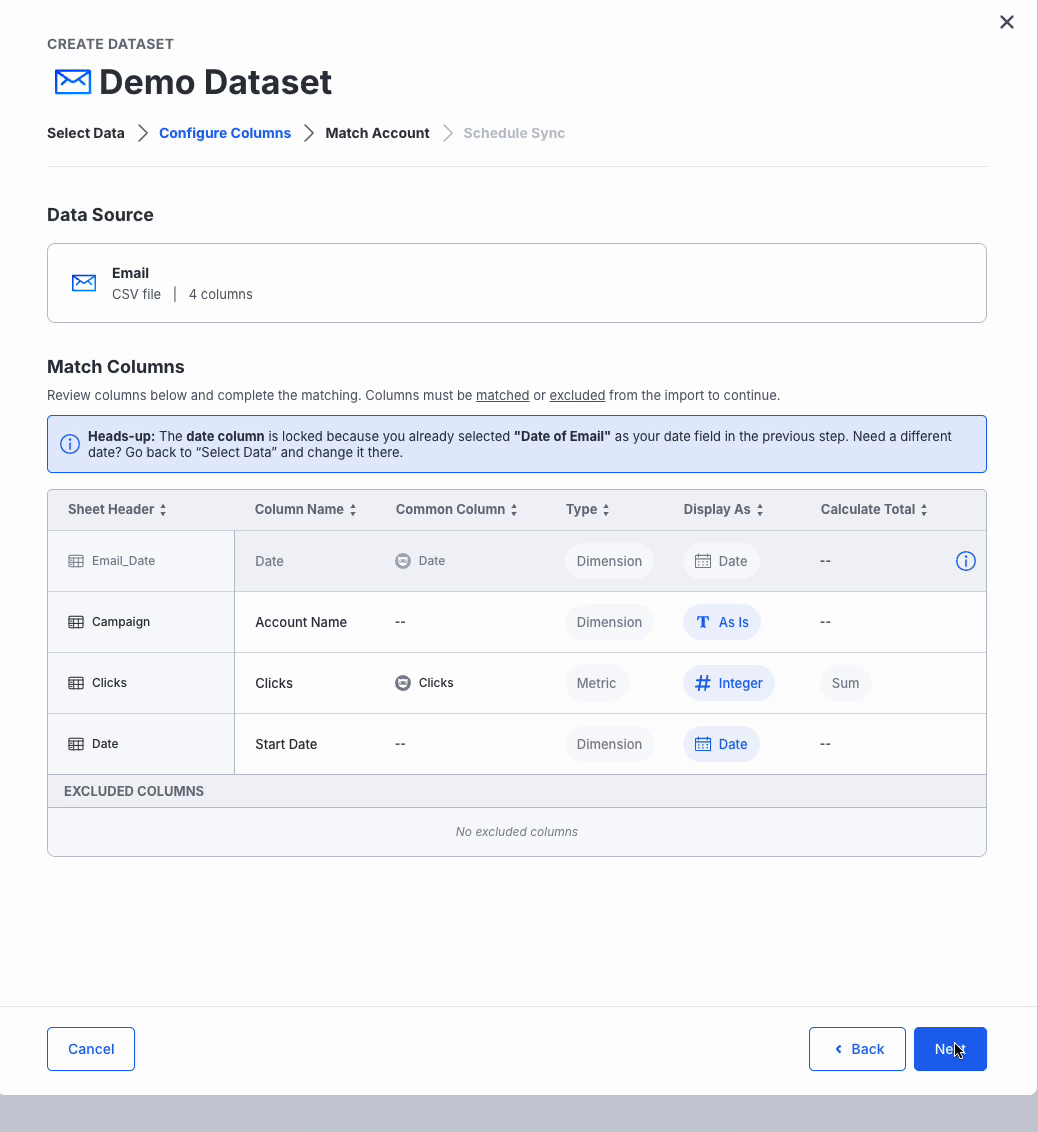
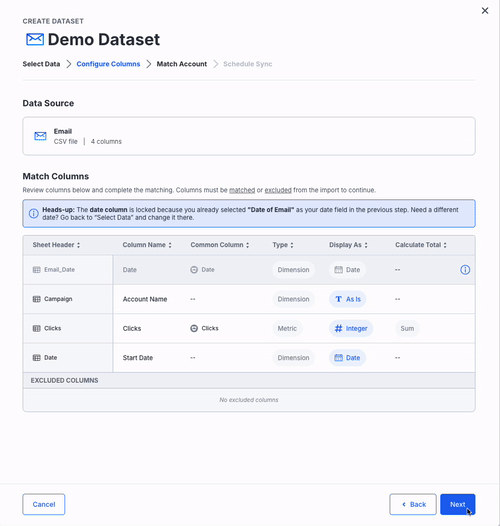
Configure Columns
- NinjaCat will automatically map column headers to known dimensions and metrics using AI-powered auto-matching.
- The Column that you chose for Date in the previous tab will be locked to prevent any misconfiguration. To change it, return to the "Select Data" step.
- Review the mappings:
- Ensure the correct data types (e.g., currency, integer, percentage) are assigned.
- Modify any mappings as needed.
- Exclude unnecessary columns if needed.
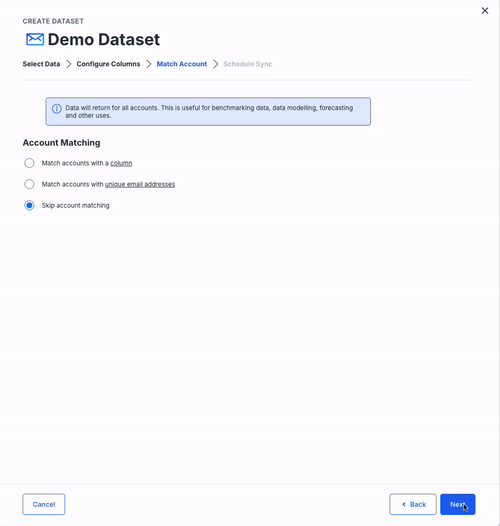
Account Matching
Pre-Configured Account Matching
- If you have mapped an "Account" as the common column in the previous step, Ninjacat has already set up account matching. If this is not your intention, go back to the previous tab and clear teh Common Column value for Account Name
Match by Column
- Pick the CSV column containing your account identifiers and choose whether those are NinjaCat IDs, Account Names, or External IDs.
Match by Unique Email Addresses
- NinjaCat generates a helper CSV of addresses; future files sent to those addresses will import correctly.
Skip Matching
- Skip matching: all data imports globally, which is useful for benchmarks or aggregated reporting.
When you’ve made your choice, click Next.
Get Your Import Address
- Click Save and Sync
- Copy this unique email address to import data into Ninjacat.
Key Features at a Glance
- Dataset-First Approach: All mapped data from providers is automatically created as a dataset and can be available under the “Dataset” provider within the template editor.
- Dataset includes sync history with detailed information on each data sync
- If you’ve already been sending data for a field that wasn’t initially mapped, simply add or update its mapping now—and NinjaCat will automatically backfill all of the historical values for that field into your dataset.
- AI-Powered Auto-Matching: Suggests optimal column mappings to reduce manual work.
A Few Tips
- To delete a dataset: go to the Datasets list, click the three-dot menu beside the dataset name, and select Delete.
- To retrieve your import address again: open the dataset’s menu and choose Address for Import.